Flower crowns have been a staple at festivals for many years. They may seem complicated, so if you’re feeling a little intimidated by your first project, we’re here to help. Along with talking to a local florist Eden Ferreira about how to become our own floral masters, we decided to give you a step-by-step guide so you too can make your best flower crown.
Though flower crowns did not start in the festival setting, festivals have given new life to the trend. And there’s still a few months of Summer left to dawn a floral arrangement. So follow the instructions below to master your flora!
Gather Your Materials
- Floral wire
- Floral tape
- Scissors
- Wire cutters
- Greenery
- Flowers (real or fake)
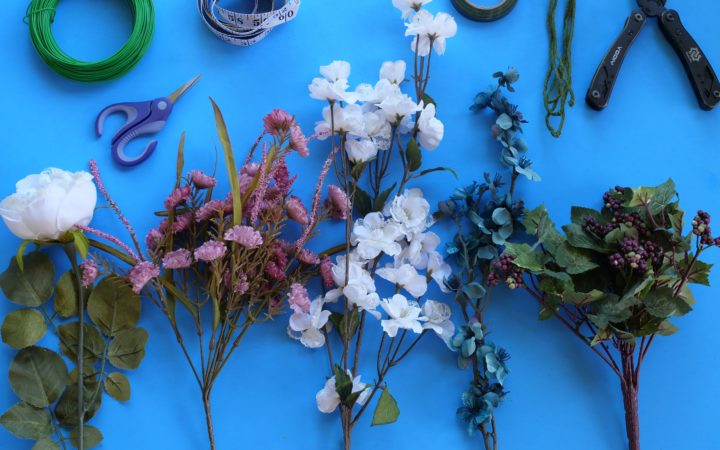
A lot of times the materials you choose come down to your own style. Both floral wire and rope work well for the base, but one might suit your style more. When it comes to flowers, pick what you want. Big crowns are in right now, but a simple daisy chain never goes out of style. (If you’re not sure, ask the store florist which flowers dry the best without falling apart, for longevity.)
Eden suggests making “a leaf and vine crown” if you are looking for something more simple. We like to have a focal point, and use different textures, such as berries.
Prepping Your Pieces
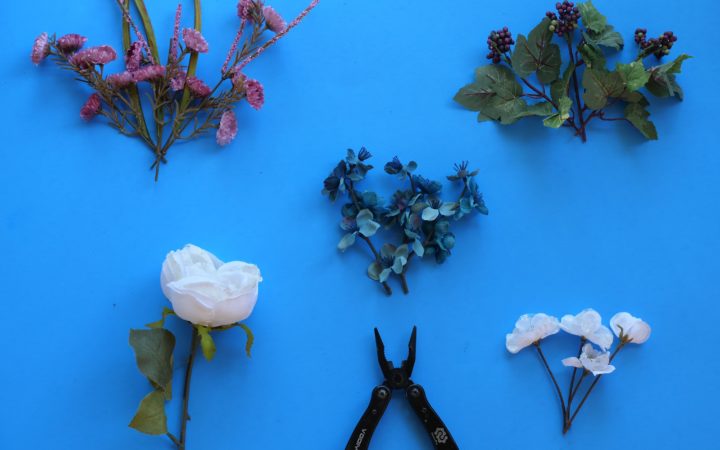
Once you have all your materials, cut each of your flowers and greenery pieces to about 3-4 inches long. We normally work with fake flowers, so wire cutters are the easiest to use. If you use real flowers, kitchen scissors should work fine.
Form Your Base
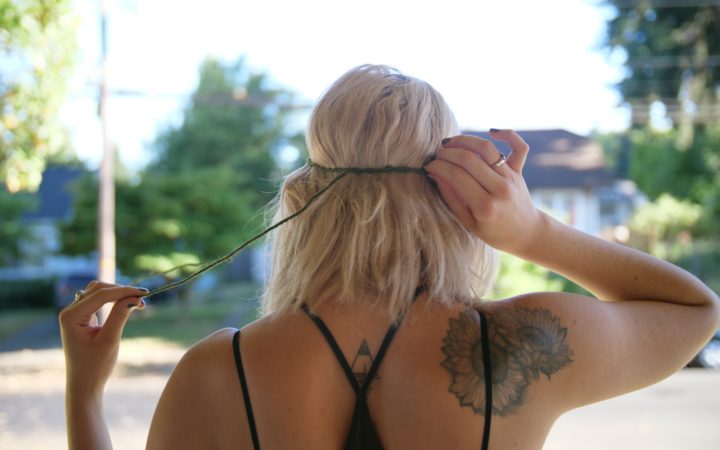
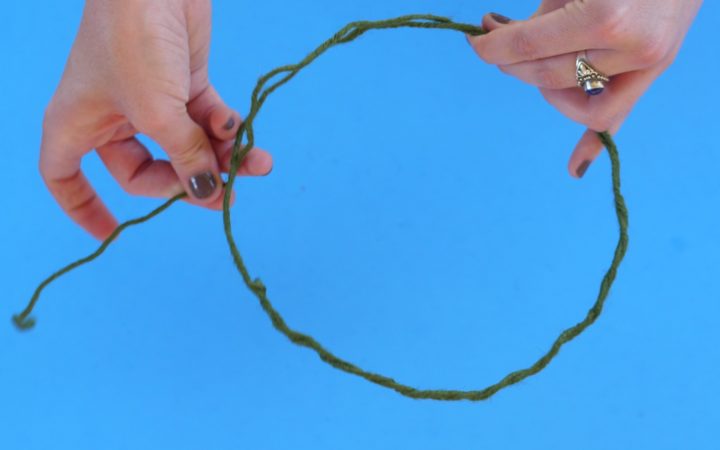
To make the base, we like to use floral wire. It is a little thicker and sturdier, and will hold its shape. Create the hoop by wrapping wire around the circumference of your head, about where a hat would sit (or where feels comfortable). If you want to use measuring tape, then shape the wire, go for it! Wrap an extra piece of wire around the base to help with durability.
Create Your Mini Bouquets
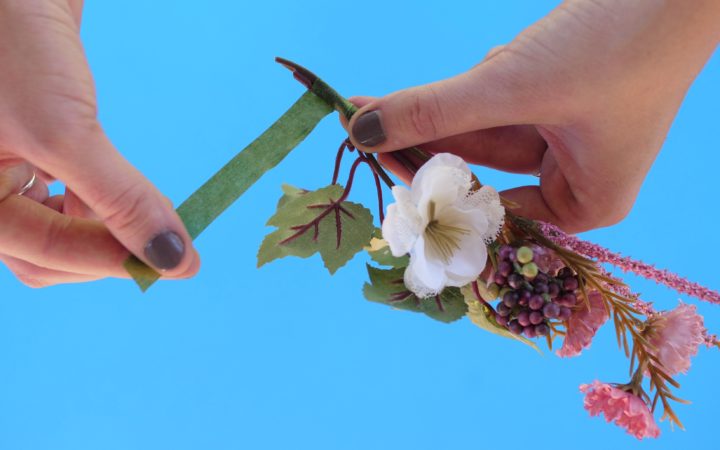
Now to make mini bouquets! We have done flower crowns before by adding one flower at a time, but by the time we were done there was too much unnecessary tape. We found out that if you make mini bouquets, you have less wire and tape.
Start by gathering a few pieces you want together, and stacking them so the there’s no space in the bunch. For the mini bouquets use floral tape to wrap the pieces together, but if you create a centerpiece, use wire to wrap it, because the flowers are bigger and need more support.
Placement and Setting on Your Base
Now it is time to start placing your flowers and using wire to secure them on to your base piece. We found it helpful to lay your flowers and greens around your base first. Even if you don’t know exactly where your pieces are going, you at least have an idea. See what pieces work well together before making it permanent.
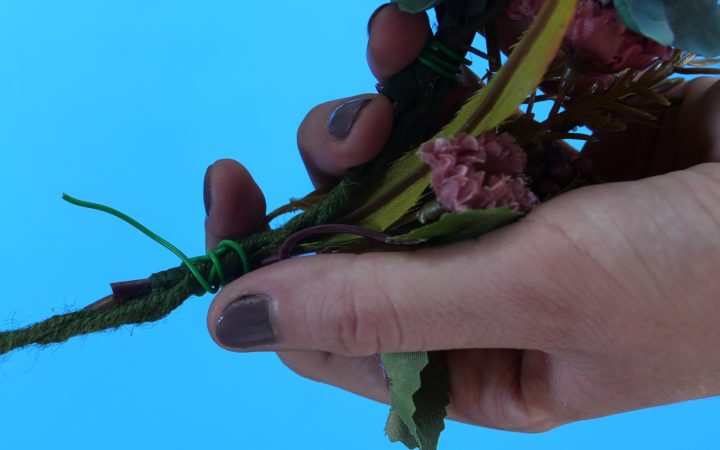
Eden suggests some space between your bunches. Don’t get to tight to the last bunch. “You want them to overlap but not sit right on top of it either.” Wrap wire around the end of the mini bouquets to attach them to the base. Use only enough wire to make them sturdy. You can also use tape, but wire will be stronger.
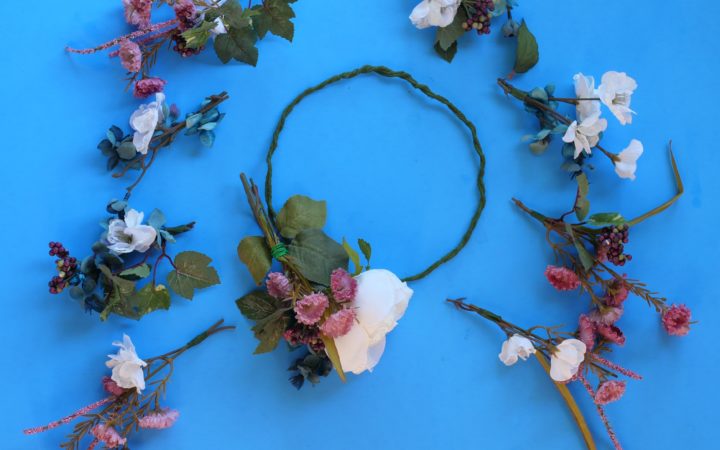
She also suggests: “If you’re using tape make sure your taping is tight and the flowers stems are really wrapped. If you’re using bullion wire, which is fun because it’s just wire wrapping, don’t go around too many times, three is fine. Too much wiring will show through and all anyone wants to see are the flowers and vines and leaves.”
Don Your Crown
There you go, you did it! Wasn’t that simple? The beautiful thing about flower crowns is that there are no rules, you can do whatever you like. If you choose big flowers, leaves, or vines, everything is right. Have fun, create what you like, and let your flower child free!
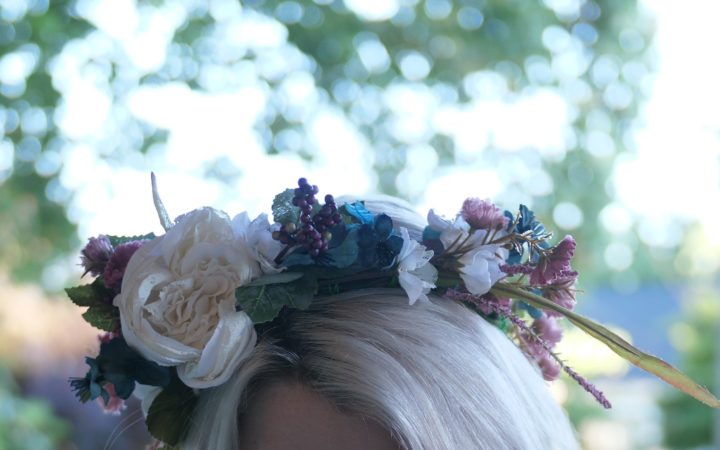
“Every flower crown and arrangement is a new journey honestly I never truly know where each stem and petal will take me.” – Eden
What have you created? Show us in the comments below!
Important things happen in Pacific Northwest nightlife, and DMNW will send you alerts!


