Like adjusting your default set, customizing Ableton to your preferences can give your workflow momentum the minute you sit down in the studio. Getting whatever tools you have at your disposal ready when you start producing saves you valuable time, especially if you’re paying to work in a studio space. Most of us aren’t full-time musicians, so our convenient time to make music shouldn’t be spent getting ready. By following these tips, you can seriously step up your productivity.
Organization and Creating Presets
Making genre or style-based drum racks helps you quickly start any type of song you might create. Make your drum racks only contain one type of drum sample (clap, kick, hihat, etc.), so you can quickly change the sample amongst your best or favorite ones you’ve chosen from. Then once you like what you have, drag that sample into its own track so it’s easier to access than in the rack. You can also bounce that element to audio to have further control of what’s inaudible. The fades in Ableton are indispensable for addressing unwanted overlapping audio. However, many people prefer to work in MIDI up until the mix-down phase. It’s also exceedingly useful to have control over the individual MIDI triggers and their lengths. Save your customized drum tracks as presets (Hip-Hop Kicks, Dubstep Snares, Dance Percussion, etc).
Another easy way to boost your productivity is to organize all your samples in one folder. Assign a shortcut to them in the Ableton sidebar. Label the folders inside as to what genre or type of samples they contain. Make sure to include the samples you’ve processed or created, so everything you might want to incorporate into a production is easily accessible. Saving time in the boring preparational parts is how you can maximize studio time making music. Form the habit of saving things as presets, especially when it may have potential in another track. This leads me to the next point- putting your Ableton project folders in the sidebar.
Reviewing, Using, and Cataloguing Past Material
9 times out of 10 when one makes a track, they don’t finish it. We are quick to deem the quality of a track not worthy of our sustained effort. We then hide it away, never to hear it again. Incorporating your master folder of Ableton project folders into the sidebar helps you realize and use many amazing elements you spent a long time creating that you forgot about. Sometimes they serve as the element you need to finish a track nearing completion. It’s very easy to put these things into your song, just drag the MIDI or audio tracks from the project in the sidebar, into your session in progress.
Include the date in the project file name of your compositions. This way you can easily tune in and recognize what you worked on. Make the habit of “saving-as” for different iterations of a song. This way you don’t lose ideas or elements when they inevitably change.
Understanding and Using Ableton’s Effects and Design
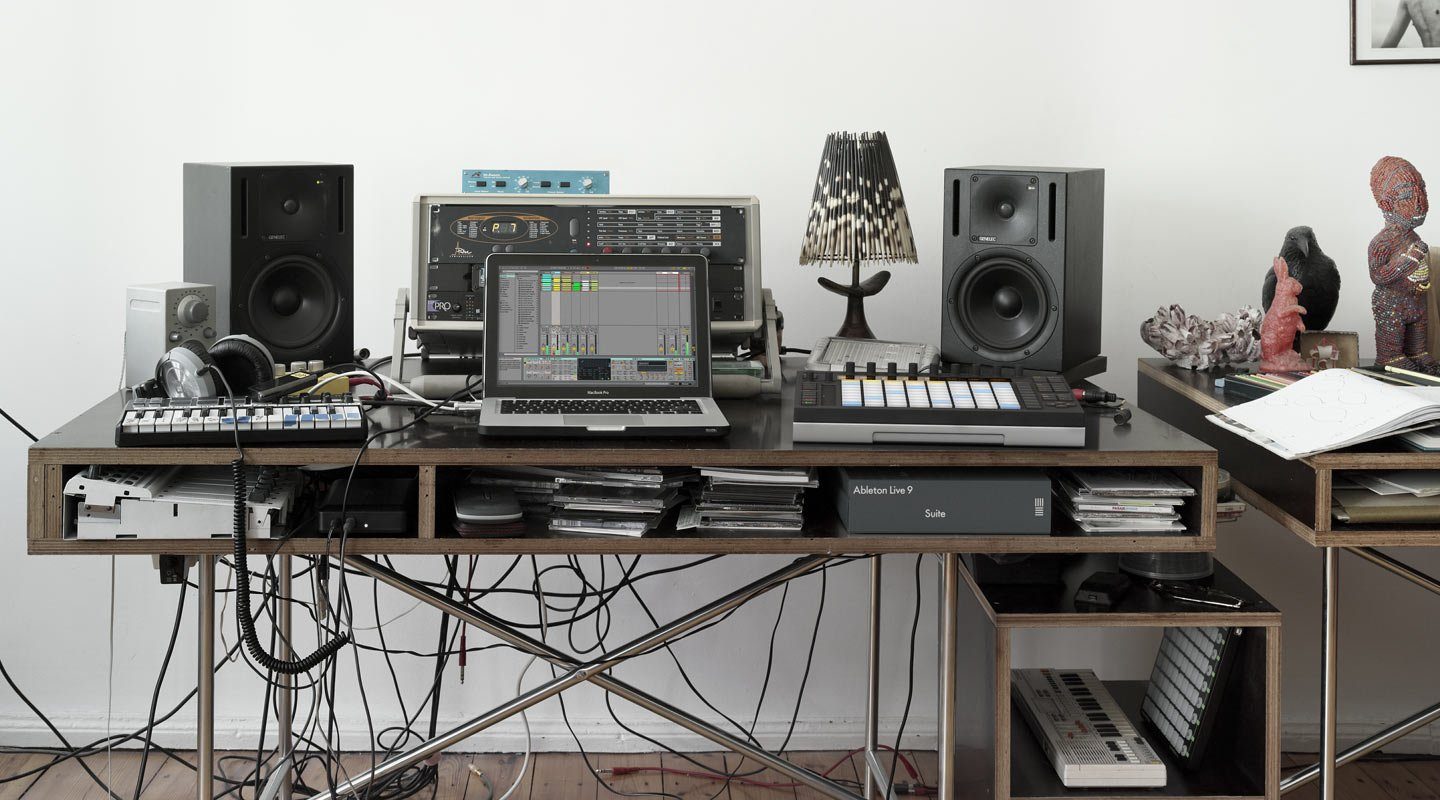
Ableton hosts a huge variety of tools, especially if you have Ableton 9 Suite and/or Max 7. Definitely don’t be afraid to try out all of Ableton’s devices on your sounds. Strive to use every device (analog or digital) in your repertoire so when the time comes, you know “exactly what the sound needs”. This Studio 101 article covers the basics of some of these effects, with focus upon compressors, expanders, and gates. Developing your comfort and understanding of your tools will help you auralize (think in music), instead of guessing what qualities need to be developed.
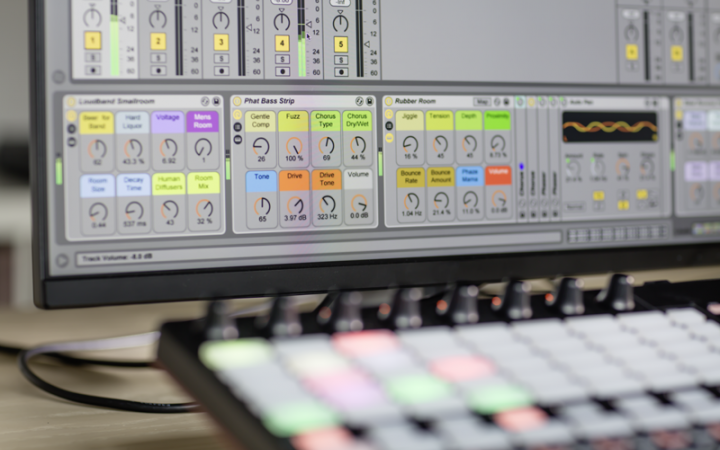
Some custom audio effect racks in Ableton 9
There are some differences in sound and application between The Glue and the regular Compressor in Ableton. The Glue is modeled after an analog style compressor, It has similar applications to the regular Compressor, but boasts distinct sonic characteristic. If you’re just getting started out, you might have difficulty hearing the difference, but as your ears get more trained you’ll start to notice some pretty big differences. The regular Compressor is better suited to lessen the dynamic range of a sound, rather than to emphasize the articulation or “glue” together the pieces of a live drum set (like the namesake of The Glue). Try both on a track to find what fits the sound more. Using other tracks as a reference for your ideas can help you understand what’s making a song “work” or affect you in a certain way.
Mixing With Other Tracks in Mind
It’s exceedingly important to reference your music with other tracks in similar genres. This way you can see if the song will mix well if its in a DJ set. Even if it’s not a DJ song, referencing tracks will always help your mix. Many audio engineers recommend referencing your mix on a car stereo. One of Young Thug’s engineers, Alex Tumay, mentions this concept in this short lecture, by Red Bull Music Academy. He tells a humorous story of frantically preparing a track for Thug in his car, due to his inability to get in the studio. The Red Bull video material is digestible for any skill level and provides great examples of mixing and production techniques. They also cover specific synthesizers and equipment, if you’re looking to get some new gear.

Valesuchi (Valentina Montalvo) mixing live with Red Bull Music Academy in Tokyo, Japan
Ableton’s design allows you to have all your tracks clipping, and as long as they don’t cause the master to “go into the red”, they should still sound the same. Make sure to also try different iterations of your mix to see what suits your music. This also helps you address tendencies in your workflow. Set your loudest element first and then mix around it. Typically, electronic music has less dynamic range, but it certainly doesn’t mean that’s the only way to produce it. Many electronic artists choose preserve the dynamic range to give their songs a more “organic” or “live” feel.
What organizational or production techniques aid you in your process? Let us know in the comments!
Important things happen in Pacific Northwest nightlife, and DMNW will send you alerts!


