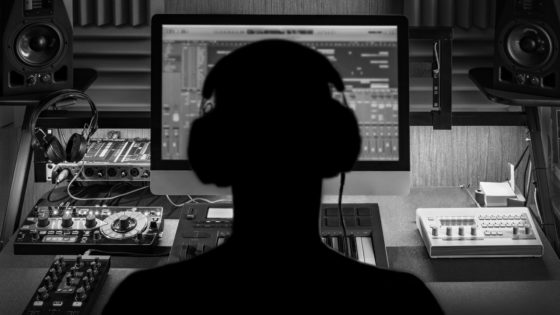
‘Mastering’ music is defined as a form of audio post-production; the process of preparing and transferring recorded audio from a source to a data storage medium (the ‘master’); this is the final source from which all copies will be produced (via methods such as digital distribution, pressing, duplication, replication, etc). If you want to release music in any format, a lot of musicians and producers will probably tell you to get your music ready for release by having them ‘mastered’ in a professional studio.
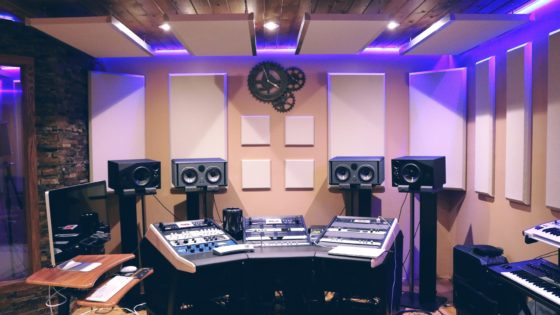
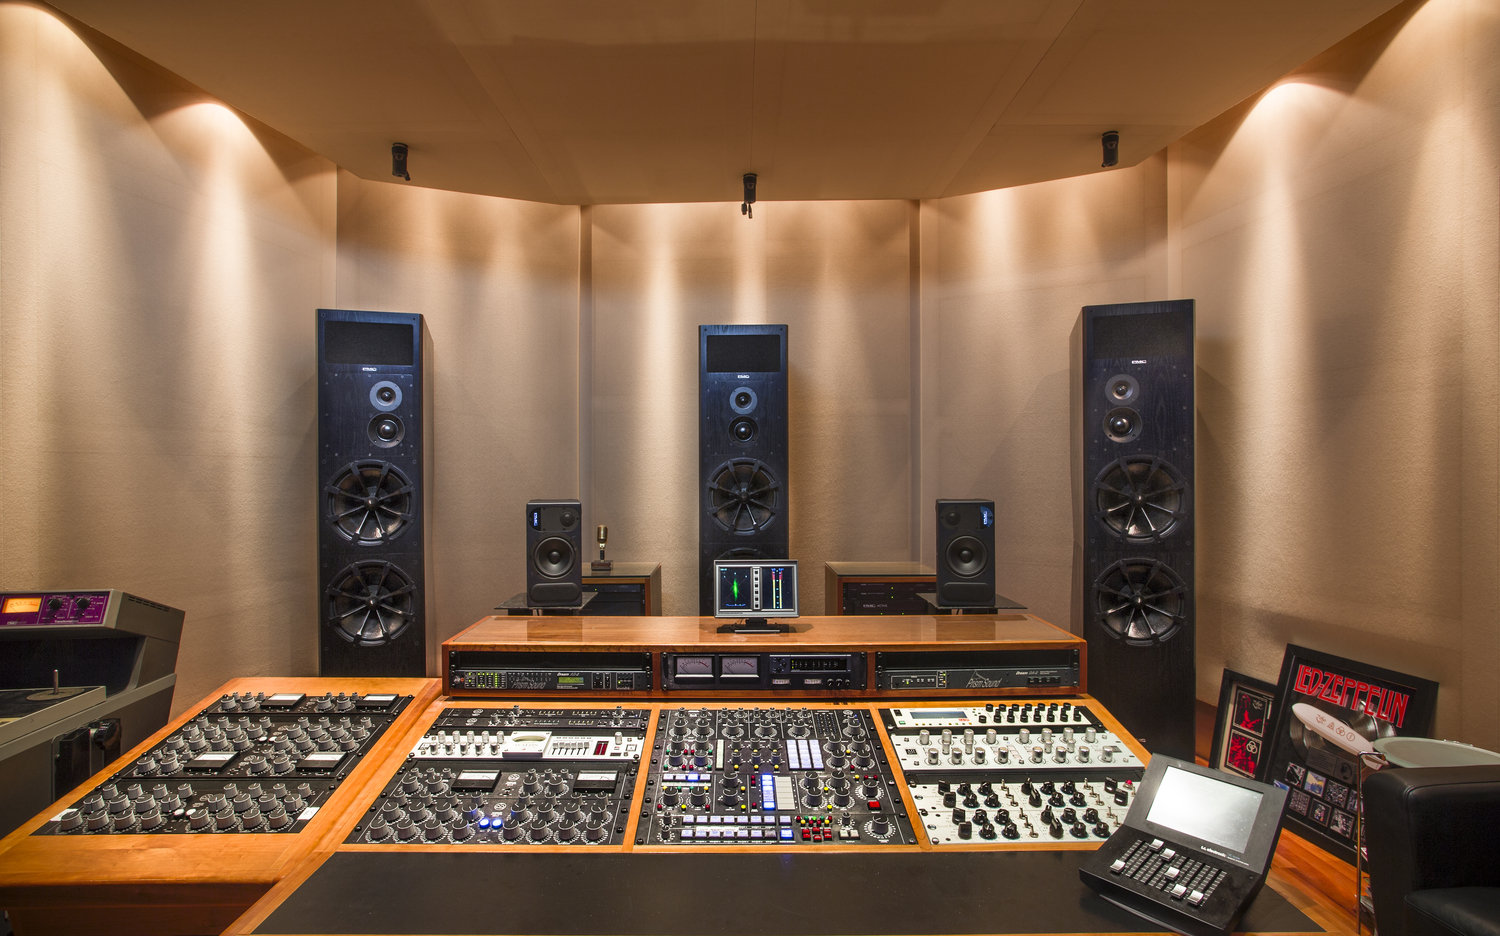
There are a lot of perks to this- a new set of ears helps immensely; becomes difficult to critically listen to your own music after you’ve heard it a million times already. To boot, most mastering studios have several sets of incredibly detailed and precise reference speakers. And we haven’t even spoken about the room in a mastering studio yet!: The room is the most important part of a ‘mastering studio’. It must be quiet, devoid of interfering reflections and provide incredible aural detail for listening to music, as well as working with it as a medium.
However, mastering your own music can be done! There are a couple more steps involved, and the finished product most likely won’t rival one done by an actual studio (like Suture, for instance), but you should confidently be able to make decent masters of your music by following these steps:
Also, for the love of god, don’t master your track(s) if they’re already clipping. Mix to an average peak of around -6dB to give you plenty of headroom.
Step 1: EQ
EQ is one of the two most important parts of mastering. You want to absolutely make sure inaudible or unnecessary frequencies aren’t present in your final mix.
Cut out all frequencies above 20kHz and below 20Hz (the upper/lower ends of our hearing spectrum). If you know what key your song is in (if you don’t, you probably shouldn’t be mastering it unless it’s atonal or something) try putting your low cut at the lowest frequency (that’s in key) in your track. Your low cut can easily be inched up to 30-35Hz for punchier low end, but you’ll lose the heavy lows that some club systems are capable of putting out. 30Hz is usually good, just to be safe.
In the EQ stage, it’s also exceedingly important to mono your low end. By using an EQ in ‘mid/side’ mode, you can EQ the mono and stereo information independently. Make sure your mix is mono below around 200Hz, as we rarely perceive bass frequencies in stereo. This is a very important step, as most club systems are in mono anyway. It’s a good idea to check your mix in mono throughout to make sure it still sounds ok.
Step 2: Compression
If you’re making an electronic music track, 6-12dB of dynamic range for your master is a good general rule of thumb. You don’t want to squash your track, however. Compressors are most known for ‘smashing’, but they work very well as the glue to hold together a mix or master.
Set your ratio to 1:1 and threshold to -40dB or something really low. Also, put your attack and release at the minimum setting. Slowly increase your ratio and attack time to dial in the ‘punchiness’ you like, then adjust the release and threshold to smooth it out. If your compressor has a dry/wet knob, it can sound nice to blend together a 4:1 or 10:1 signal with the clean one, to get an extremely aggressive, modern sound.
The goal here is to make your music sound the best it can be, not change it drastically. The main goal is to use compression to tighten the dynamic range (so we don’t have to fiddle with the volume knob throughout a song or album).
Step 3: Saturation/Limiting
The final step in this little three-part “schmastering” (as Mad Zach refers to it) tutorial is beefing up the harmonic content of your song, and then squashing it into a pancake (just kidding about that last part).
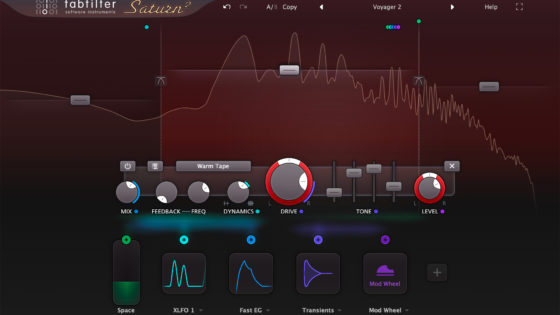
Most DAWs have a saturation plugin that is capable of modeling tube/tape/vinyl/etc. distortion, which can sound great as a mastering plugin. Try a touch of tape saturation on a dry mix to give it more ‘crispness’ or if you’re going for a grittier, lo-fi sound. This should be done with extreme moderation. Be exceedingly careful that you don’t change the character of your song too much or the next and final step will noticeably accentuate your changes.
The final step of mastering typically involves a limiter, which is essentially a compressor with a very high ratio (~12-20:1 or higher!). This tool is used to shave off peaks and tighten all the sound up, into a neater little ‘package’.
First, set your limiter’s output to -.3dB. In between the digital samples that create our listening experience, there are inaudible peaks that go by unnoticed by most DAWs’ standard metering capabilities. By setting your output to -.1-.3dB, you can avoid these. However, you can avoid this by investing in Pro-L by Fabfilter or one of Ozone‘s limiters. The stock Ableton, Logic, Pro Tools, and Fruity Loops limiters work amazingly though, so don’t waste your money on something entirely unnecessary for a home studio.
Slowly raise the gain on your limiter until you start to hear distortion, then back it off. Again, play with the attack and release to dial in the character of the limiter to taste. In this stage, it’s also helpful to reference another track in the same genre to relevate your mix and decisions. Ask yourself: is it too compressed? Is the high end lacking? Go back and adjust these things, then make your way through the signal chain again and see if it works better.
___
There’s so much more to be said about mastering using plugins and we haven’t even touched on using outboard gear. Many successful artists master their own music and you can too, just make sure to listen as critically as possible and reference on as many speakers as you can. We’re confident you can make decent masters of your music if you spend some serious time comparing your tracks to mastered tracks in the genre and trying out new things in your mastering chain. Also, this is not “the only way to master” by any means. If it sounds good, generally; it is good.
Important things happen in Pacific Northwest nightlife, and DMNW will send you alerts!


